
I have noticed a lot of string art, pin and sequin pomander balls, magazine trees and silhouettes. It just seems so funny to me to see these old-school crafts take on a new modern twist. I remember my mom decorating with these very ideas as a kid.
So to celebrate an old-school art, I recently made some silhouettes of my kids. For me, they are the perfect amount of historic and modern art.

I realize they look very traditional, but it is not so much the framed silhouette that is modern as it is in the process to make them.
I remember as a kid in grade school, being asked to sit "very still" with the overhead projector lamp shining on my profile as my teacher quickly and carefully traced my shadow onto a piece of paper that was taped to the wall. Honestly, I am not sure how those ever looked like us because there is no way we could sit perfectly still.
Enter today's technology and making a silhouette is easy peasy!
#1: Take a Picture
Simply put, using a digital camera, snap a profile picture of your subject (child, pet, husband, whatever). While it is best to have a simple background like a wall it is not entirely necessary. I would recommend not having too much going on as the more busy the background, the more difficult it is to distinguish the features in the next step.

#2: Edit Photo
Using photo editing software, convert the photo to a pencil sketch or coloring page. I use the free version of Picnik which is an awesome on-line photo editing program. Someday I may upgrade to the premium version which entails a nominal fee but for now, the free version is great.

To create the pencil sketch in Picnik, follow these basic steps...
- Upload your photo
- Go to Basic Edits and rotate and crop photo as needed
- Next go to Effects and find Pencil Sketch towards the bottom of the list
- Adjust settings (specifically Strength) until you are happy and hit apply. The goal is to lighten up the photo and to emphasize the outline. Don't worry if it is dark in this step as you can adjust it further in the next step. Make sure to hit Apply to save these edits.
- Go back to Basic Edits and use the Exposure feature to further lighten the photo. This again helps to emphasize the outline and also saves a significant amount of ink when it is time to print the photo. I primarily used the Highlights slide to lighten the photo further. Again, make sure to hit Apply to save your edits.
- Go to the Save & Share tab and save the photo to your computer.
I then printed the photo to the desired size of my frame (5"x7"). Once I printed it out, I used a fine point marker to trace around the features. This step made it much easier once I was ready to cut it out. Using a sharp, small scissors I carefully cut out my silhouette.
#4: Trace on to Final Paper and Cut Out
This is where you get to choose what you want the silhouette to look like. You can choose the classic black silhouette on a light background, white on a bright color or as I did, a patterned silhouette on a subtle patterned background. Place your cut-out from the last step on the back of your paper and carefully trace around it with a pencil. Then cut out the silhouette.
#5: Apply your Cut Out to the Background
Once you have cut out your final silhouette, apply it to your background. I chose to use a light coat of spray mount as I wanted to make sure that the edges were secure. You could also use a glue stick or even decoupage depending on what you are applying it to.

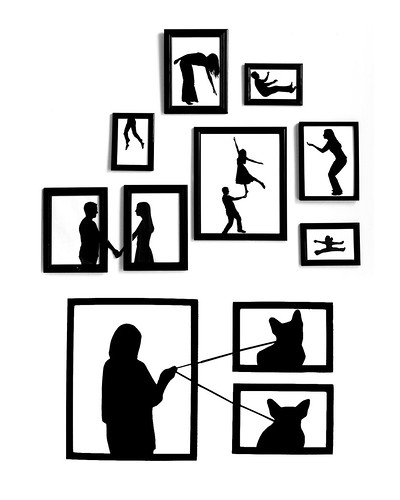
And there it is, my modern silhouette. I love some of the fun silhouttes I have seen and may try to do something like this some day...how fun is that!
 |
| via |
Here is another artist that does very cool silhouettes, Nikki McClure. She uses different terms but the same effect: http://www.nikkimcclure.com/portfolio/?img=nm20_mendocino.
ReplyDeleteThis video http://vimeo.com/3627466 shows some of her technique, all old school.
KC